
Flip in Stile — Part 2: The essential ingredients


Welcome to the second instalment of my series on flipping the classroom. Part 1 dealt with what flipped learning is and why we at Stile think it’s such a great idea. This post is all about the tools needed to craft the backbone of the flipped class: a screencast.
And to walk the talk, I went and made a screencast about everything you need to make one!
As you can see, it’s certainly possible to flip your classroom with nothing but an iPad, but my aim in this post is to present a few other options that will boost the overall quality of our videos immensely.
Getting everything ready
Not much is needed for basic flipping, but there are four things that I consider essential:
- A microphone to record narration
- A capture device (iPad, laptop, camcorder, smartphone, DSLR…) to record video
- Editing/recording software to capture what’s on our screens and arrange it in an engaging way
- An annotation device such as a pen tablet or a touch screen
Let’s take a closer look at each ingredient.
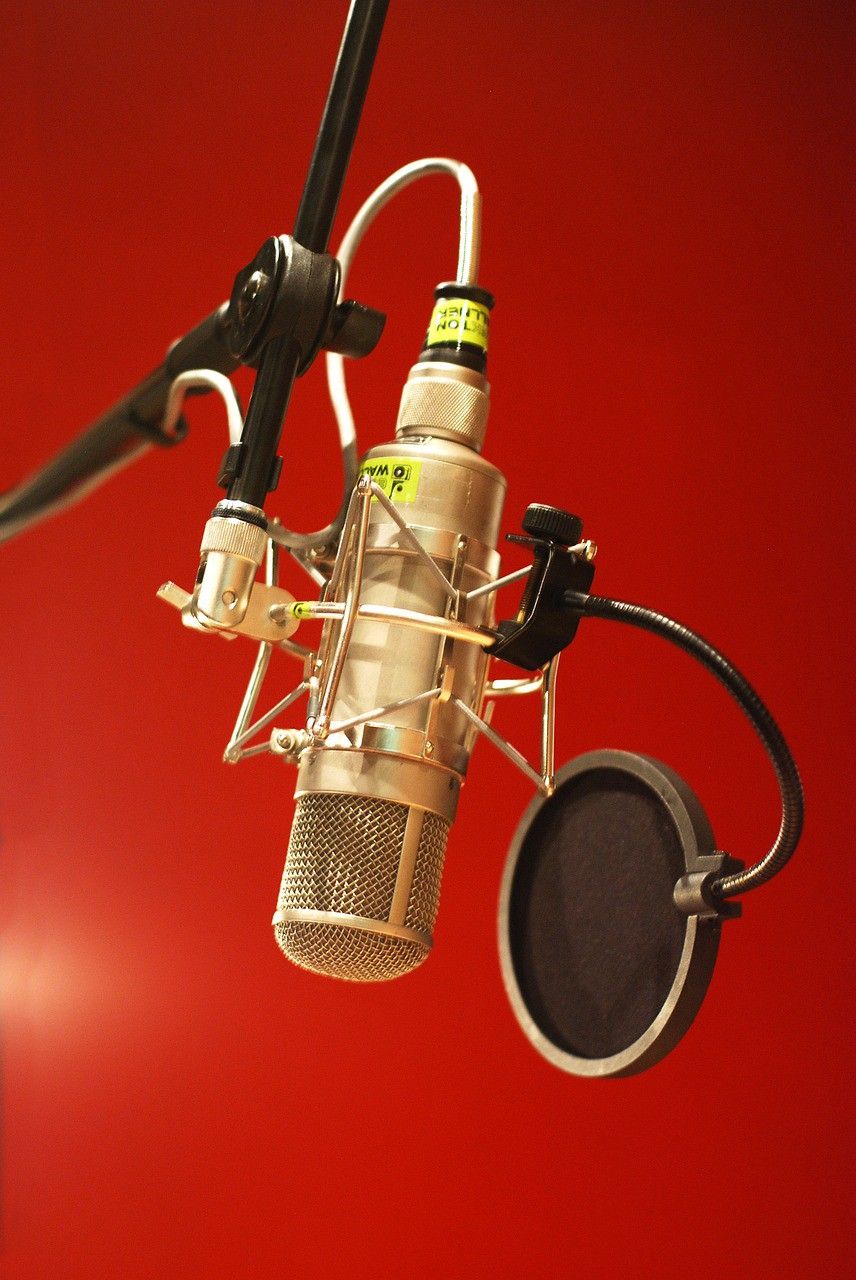
The microphone
A mic is arguably the most important ingredient, but also the one that most skimp on. First-time ‘flippers’ generally use the microphone that’s built into their capture device, such as the one next to their laptop’s webcam or their iPad’s in-built mic. That’s fine, of course, but the quality of webcam mics is generally quite poor. I don’t enjoy spending hours listening to noisy, poor recordings and neither do students.
If think it’s really worthwhile buying a decent microphone. I asked my school to invest in a USB microphone and it now gets used a lot! They start at around $80, plug straight into computers (some even into phones and tablets) and quality ones will last a lifetime. The difference a good microphone can make to a video’s quality is quite astounding. Another great investment is a pop filter. I didn’t use a pop filter in the narration part with the pen tablet (at 3:09) and you can hear the second ‘p’ sound in ‘PowerPoint’ pop.
Recommended USB microphones
I’m a big fan of Blue microphones, as they have something for every budget. Under $100, there’s the Blue Tiki, which plugs into any USB port. Although I haven’t personally used this new mic, the reviews seem very positive and it looks like great ‘bang for buck’ for tight budgets. For around $150, I can highly recommend the Blue Yeti and is what I used at my school for years.
Going Pro
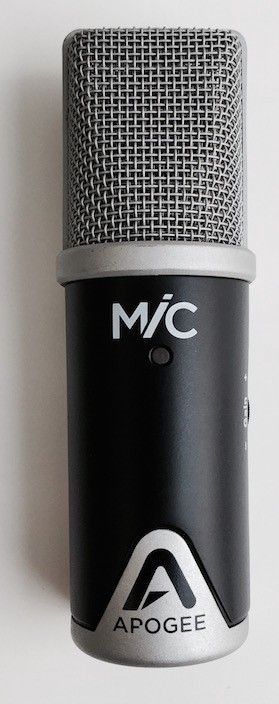
Apogee’s MiC is the gold standard of USB mics for Mac users — it’s what we use at Stile, and it’s amazing! It even plugs into iPads and iPhones, turning them into professional recording studio quality devices, but it is around $300 in Australia. I used this mic for most of the video (except for the DSLR and mic shootout parts).
Camera mics
Camera mics are a mixed bag, but inbuilt ones are generally not very good. I like to use my DSLR for video because it provides gorgeous video quality, but its mic is, quite frankly, terrible. To make up for that, I use my Aussie-made RØDE VideoMic Pro: an external shotgun microphone — highly recommended! I got mine for $200.
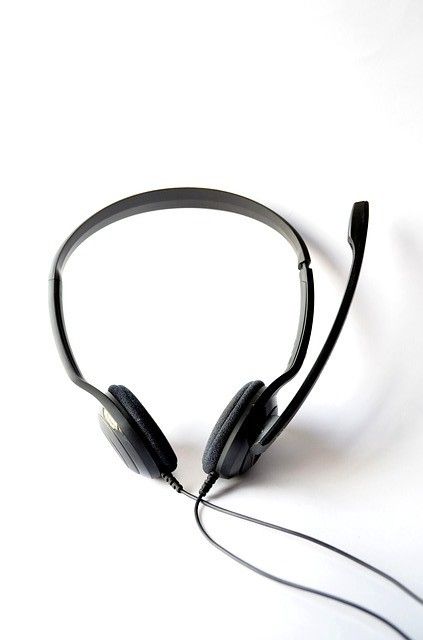
Headsets
I personally don’t like headsets microphones, such as the ones found in computer labs and call centres or the one that came with most smartphones. While there are exceptions to this rule, I have found that these generally don’t cut the mustard, but I’m happy to be proven wrong here.
The capture device
Unless they’re built into the device (and therefore often are of lower quality), microphones need to be plugged into something. I’ll divide these into three basic categories:
- actual video cameras (camcorders and DSLRs)
- mobile devices (smartphones and tablets)
- computers (webcams on laptops and desktops)
Dedicated video cameras generally look best, but require a tripod. I use a DSLR and it’s great, but HD camcorders work well too of course. The Canon 550D, for example, shoots beautiful video and can be had for as little as $250 second-hand. Camcorders work well too. However, for Picture-in-Picture (PIP) work, these are overkill and I would only bother using them if you’re shooting full-screen video for things like lab experiments.
My iPhone’s cameras also shoot good video and the same goes for higher-end Android phones and iPads, especially the new Airs. However, if I use the back camera, I can’t see myself as I’m recording, which can make framing, focus and exposure tricky. The front camera lets you see the screen, but the video quality is not quite as good. For PIP video, they’re perfectly fine, though.
Mobile phones have the added benefit of also being editing devices (using apps like iMovie) and most of us always have one with us, so there’s no need to buy anything else.
Webcams are at the bottom of the quality pile, as you can see in the video. However, they are very convenient, and if they’re used for PIP, they’re generally fine, as long as there’s enough light.
Computers are great, because they can be used for screencasts (recording whatever is on the computer screen, including annotations), webcams and editing, all in one, which brings me to…
Recording and editing software
This can easily be whole a post (and Teaching ‘Gen Tech’ keynote presenter Andrew Douch has actually written one!) but I’ll keep it as brief as possible and split it into the three most commonly used platforms:
- iPads
- Mac OS X
- Windows
When I’m working with an iPad, the logical choice is iMovie for editing footage I’ve shot with the iPad’s camera. It can also import images, plus I can also record narration right into it. For the camera-shy, there are a lot of great apps such as Explain Everything that allow you to screencast: talk to drawings and images and create a video that can be saved to the iPad’s camera roll. From there, it’s easily uploaded to Stile — done!
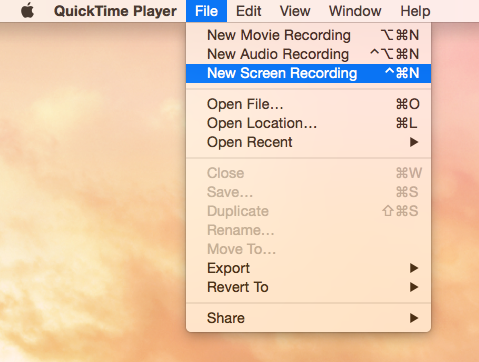
Mac users are spoilt for choice. A fantastic free choice is QuickTime Player. It’s built into any Mac, and my quick and dirty weapon of choice. It allows for screen recordings (see screenshot), so I can fire up a PowerPoint or Keynote presentation, talk to it and record the resulting screencast in one go. If I need to edit out any bloopers, I can always open the video up in iMovie and cut them out there. However, these days I mostly use Camtasia for Mac or ScreenFlow, but they do come with a bit of a learning curve and cost around $100 each.
Windows users have a bit less choice. The possibly best free option is Screencast-o-matic which can either be downloaded and installed or run in a web browser. For around $100, there’s Camtasia Studio for screencasts or Movie Edit Pro for editing ‘proper’ video footage.
Both Mac or a Windows apps export video files that can be uploaded to Stile or video hosting platforms like YouTube.
A 21st Century Pen
The fourth piece of equipment, a digital pen, comes in very handy during screencasts. Digital pens are a great way to annotate slides while talking: we can circle, underline or highlight key points, draw arrows, but also write out formulas, solve equations, draw diagrams and much more.
I use a Wacom tablet at home and it’s fantastic. They start at around $100 new on eBay and plug into any computer. They take a bit of getting used to, as we need to draw on a a different surface than the one we’re looking at, which takes a little practice, but are indispensable when I’m trying to draw or write on my screen.
iPad users can just use their fingers to annotate their presentations, though a stylus can make life easier here as well. Andrew Douch posted a handy list of styli on his blog if you’re in the market for one.
For those on small budgets
If budgetary constraints are an issue, I’d approach the person in charge of procuring such things about 2 months before the end of financial year — i.e. right now! Such purchases are usually also tax-deductible for teachers, so get in touch with a taxation professional for options if your school is not willing to invest in fancy microphones, Macs or editing software.
I’ve put together a table for each platform with my recommended products below, for small and big budgets:

That’s it!
In the next post, I’ll cover the basics of actually recording, editing and uploading videos.
Do you have any other favourites that you use to create screencasts? Please share them in the comments below!