
Flip your classroom in Stile — Part 1

Was one of your New Year’s resolutions to finally flip your classroom, but you’re not quite sure where to start? Well, you’re in luck!
In this 6-part series, I’m going to show you a few practical ways to get started with flipping your classroom and help you make the most out of your classroom time with your students. The focus of this series will be on the nuts and bolts of making great videos and getting them into Stile.
In this initial post, I’ll outline what flipping the classroom is and why we at Stile think it’s a such great idea.
What does ‘flipped’ mean?
Flipping the classroom or flipped learning mean different things to different people. For this blog series, though, we’ll simply define the flipped classroom as ‘delivering content (mostly) outside of the classroom, but applying it inside’. This is typically done in the form of teacher-made videos (screencasts, camcorder/iPad recordings, etc.).

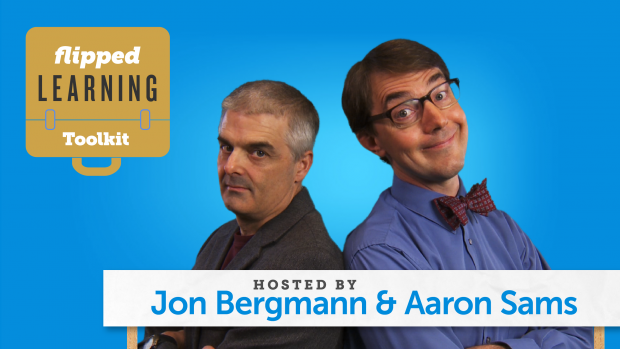
Jonathan Bergmann and Aaron Sams, the authors of Flipped Learning: Gateway to Student Engagement (which I reviewed here last month), also distinguish between the flipped classroom and flipped learning. According to them, flipped learning goes beyond just content delivery in video format by giving students complete agency over their learning in when they learn what and how they demonstrate mastery.
Aussie flipped classroom pioneer and Teaching ‘Gen Tech’ keynote speaker Andrew Douch offers the following definition in an interview with Teacher Magazine:

The traditional sort of mainstream idea of Flipped Learning is that teachers will take what they used to do in the classroom — you know, lecturing and presenting information to students and classroom discussions for example, and do those things outside the classroom. Perhaps they might present content via YouTube and videos and podcasts, and set up a discussion board where students can ask their questions outside of the classroom. And in doing that, they free up class time to do the homework that would have been sent home, and now of course if students get stuck with the homework the teacher is there to help them, their friends are there to help them.
He then also goes on to discuss a more ‘advanced’ methodology which is similar to the flipped learning model by Bergmann and Sams.
Bottom line: Flipping frees up classroom time by moving lesson content delivery outside of the classroom. This then allows for more hands-on activities inside the classroom.
Why you should make the flip
While teachers are generally comfortable talking to a class, things often look a little different when it comes to topics like ‘recording a lesson and putting it online’. Then there is the issue of the technical side of things: how to record passable video and audio, uploads, links, sharing … it’s a fairly daunting prospect when you put it all together.
I’m here to tell you that it’s actually much easier than it sounds and has benefits for both you and your students.
1. Your students will thank you
Flipping your class gives you a chance to talk with all of your students because it frees up so much of your class time that you previously spent delivering content.
They probably understand most of the things you tell them in class, but there is always a chunk that goes over each student’s head. And it’s often a different chunk for each student. The confident ones will raise their hand and ask a question, but the silent majority generally don’t and remain mystified as a result. At home, or anywhere with easy access to the internet, they might google the problem to fill their knowledge gaps, but that’s a bit difficult to do with the teacher talking up front.
If they have a video of you delivering the lesson, they can watch it again if they didn’t understand a part or ask their teacher or classmates in the class discussion board if in doubt.
2. Recyclability
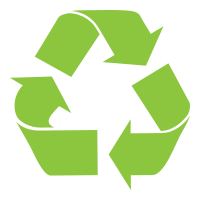
If you are anything like me, you have taught the same lesson to different students many times over — sometimes twice in the same week!
If I had had a recording of the ‘lecture’ part of that lesson, I could spend more time on the hands-on part, which is not only more interesting but also enables delving into higher-order thinking activities as the lower-order ones have already been adequately covered by basic comprehension questions that accompany the videos.
3. Your best work
The beauty of video recording is that you can re-do it as often as you like if anything is not right (time permitting of course). And then there’s the ability to edit. You can add pictures, diagrams, annotate, animate and much more. Think costumes, your cat, the fake skeleton in your closet — basically anything you can’t easily drag into your real classroom, you can feature in a video you shoot at home.
In short, you can carefully plan and execute a perfect lesson and cut out all the bits that you can’t erase from physical classroom like a scratched DVD, YouTube refusing to work in the middle of class or any other hiccup that can ruin the otherwise perfectly planned lesson.
“Right…”
…you might say. “I can’t do any of that stuff”.
Well, my aim in this series of posts is to show you that it’s not as hard as you might think. Shooting and editing video has become incredibly easy with tools like the iPad or freely available screencasting software.
In the next four posts, I’ll go over:
- The basic tools needed (as outlined above) and how to get started recording
- Basics of recording and editing videos and uploading to Stile
- On to Stile! What to do with your video: how to get students to actually watch the content, concept checking questions, discussions, calling on individual students to deliver critiques, etc.
- Other tips and tricks!
If there’s anything else you’d like me to cover in more detail, please let me know in the comments!